
The fields to include
Start with business and client contact details, a unique invoice number, the invoice date, a description of what you supplied, quantities and rates, the subtotal, any applicable tax, and the total. Add the agreed payment instructions and due date. Business and tax identifiers depend on your location and status.
Choose a layout for the job
A simple service invoice works well for project fees. An hourly invoice should make hours and rates easy to compare. A product invoice should show quantities and unit prices. Leave enough space for meaningful descriptions instead of squeezing everything into one line.
Brand it without hiding the essentials
Your logo and a consistent colour can make an invoice recognisable. Keep contrast strong, text readable, and the total prominent. Invoice Maker’s App Store listing describes logo customisation and professional templates; some options may require an in-app purchase.
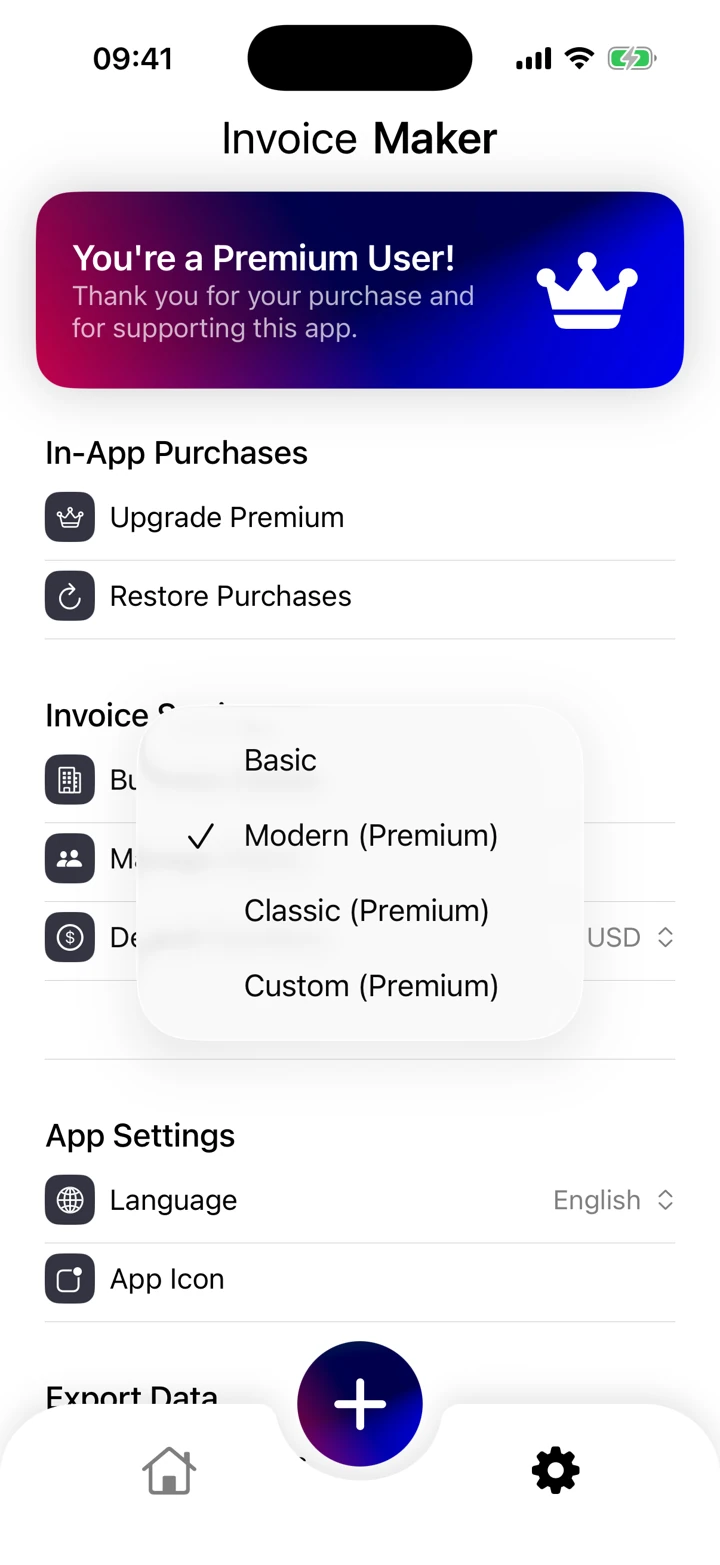
Choose a template in the app
Open the template selection screen and choose the style that makes your item descriptions, business information and total easy to read. Review the finished invoice after applying a template. Keep the chosen layout consistent for repeat clients. Some options may require an in-app purchase.
These guides explain everyday invoicing workflows. Examples are illustrative; check the rules that apply to your business and location.
Reference: GOV.UK — UK invoice requirements ↗